The Farmer Diaries
Texas farmer bolsters winter harvest with incredibly easy sprouts
What's not to love about sprouts? They're delicious, nutritious and elevate a common sandwich to a gourmet indulgence. They're easy to grow and cost about a dime a week — much cheaper than the $3.99 packages at the grocery store.
They need no soil and only once-a-day attention. Plus, they are ready within a few days from start to finish.
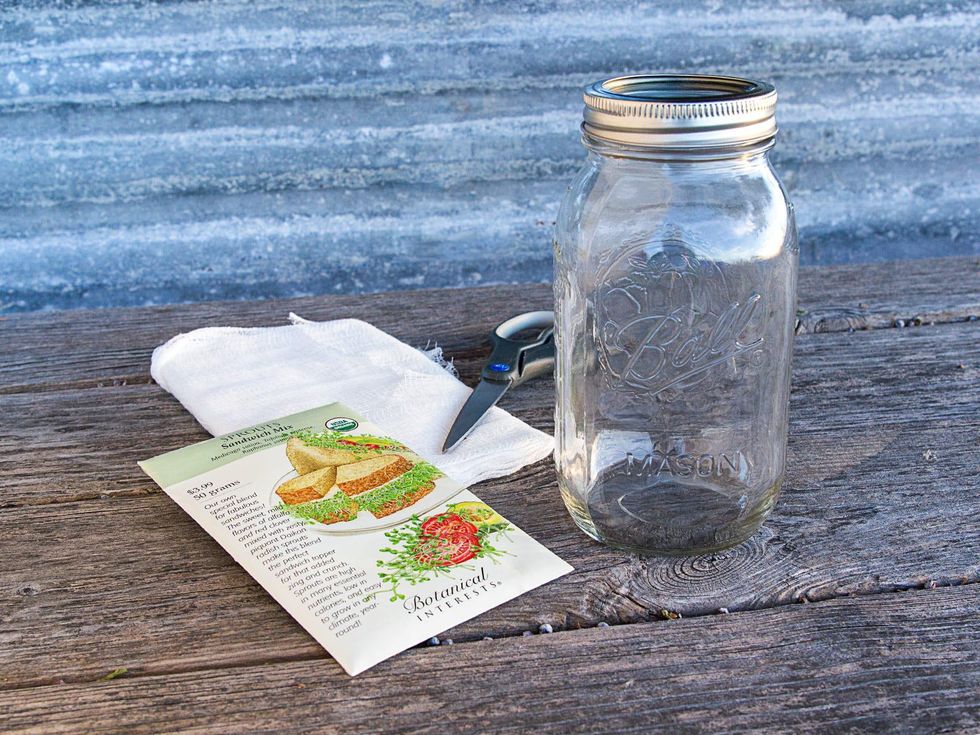
Sprouts are the week-old seeds of alfalfa, broccoli and other crops. These three things are all you need to grown them:
- Clean jar. Mason jars work best. They have wide mouths, and part of the lid includes an outer ring that's perfect for holding a screen in place over the mouth of the jar. But any jar will do. Just use a rubber band to hold the screen over the top.
- Cheesecloth. Available in the craft or fabric section of a department store, this gauzy cotton cloth with a loose weave is cheap and serves well as a screen that lets water in and out of the jar while keeping seeds from pouring out during a rinse.
- Untreated seeds. There's a wide variety of seed that's good for sprouting. Seed specifically labeled for sprouting is the safest bet as it's naked and clean; garden seed on store shelves is often treated with inoculates or fungicides, so it is unsuitable.
Sprouts need only a few days to be ready. For alfalfa sprouts, the routine looks like this.
Day one
Cut a square of cheesecloth large enough to cover the mouth of the jar, with enough extra to go over the side. Place about a tablespoon of seed in the jar, then place the cheesecloth over the mouth.
Place the mason jar ring or a rubber band over it, to hold it in place. Fill the jar with cool tap water by pouring it through the cheesecloth. Spin the seed around inside the jar and pour out the water.
Repeat the watering process — filling the jar, pouring the water out — two or three times. This washes the seed. Then pour enough water into the jar to cover the seed and place it in a dark cupboard overnight.
Day two
Drain the jar, pour cool water back in and drain out as much as possible. After the initial soaking on the first day, the seed is not submerged again. Most of the seeds will stick to the sides of the jar, which is good. Place the jar back in the cupboard.
Day three
Rinse the seed. Some roots should begin to be visible.
Day four
Rinse the sprouts; they're no longer mere seeds. Long roots should have formed, and a few will have yellow leaves starting to unfurl. Continue to keep the sprouts in a dark cupboard.
Days five and six
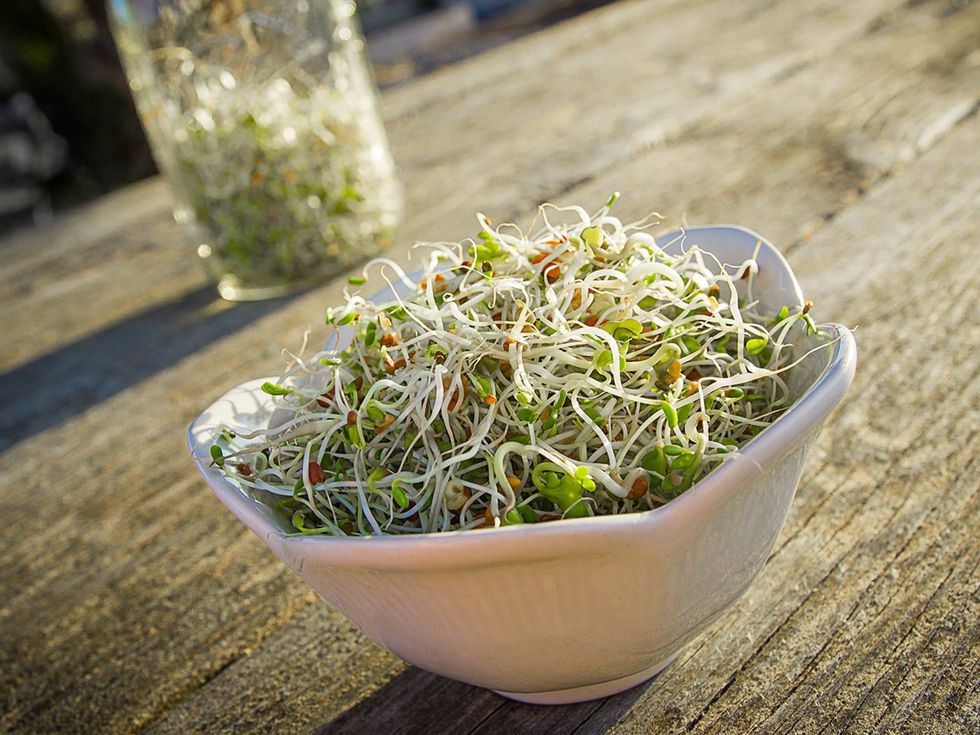
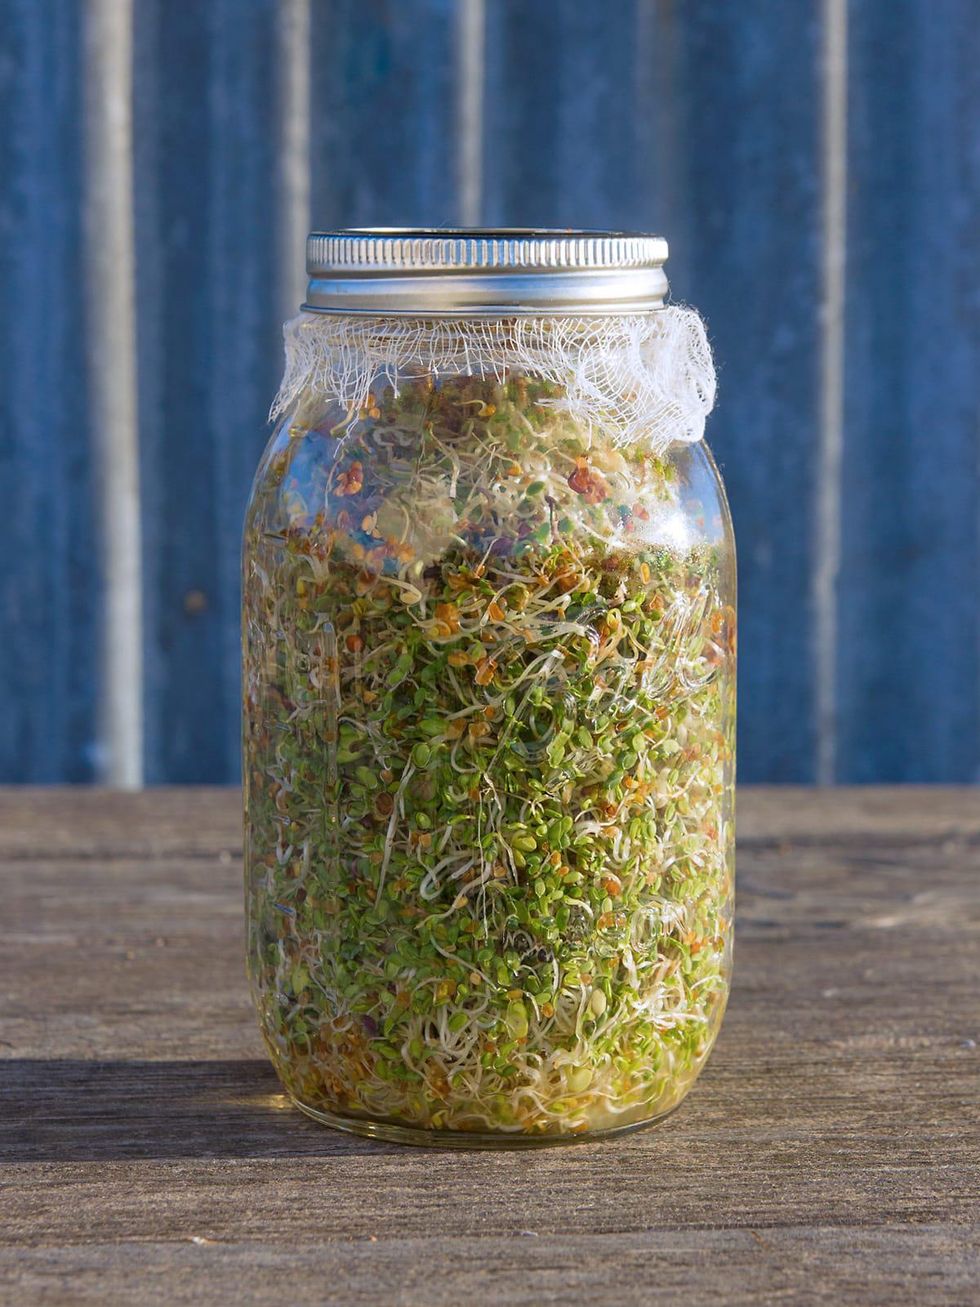
Rinse the sprouts. Once the sprouts have leaves, five to six days after starting them, place the sprouts in a window with indirect sunlight or under a bright lamp to green them up. After about eight hours of light, the sprouts are ready.
After the sprouts have greened up, they should be thoroughly rinsed and drained of as much water as possible before being placed in the fridge. They'll keep for several days, but I usually eat them all up before they're anywhere near being too old. They're far superior to grocery store sprouts in taste and texture.
Each time I grab sprouts from the fridge, I rinse them again, just before placing them on a sandwich or a wrap or before tossing them into a pan of fried veggies. One can't be too safe when it comes to food.
My favorite seed sources:
- Botanical Interests sells basic sprouting seed that's non-GMO. They offer a sandwich mix of alfalfa, red clover and radish seed that's fresh and zesty. If you can't wait for an online order, you can usually find Botanical Interests sprouting seed at Central Market or any small, privately owned garden center.
- Johnny's Selected Seeds' selection of sprouting seed includes the basics but also onion, mustard, buckwheat and kale.
- Sprout People is the one-stop shop for sprouting seed and supplies. The catalog includes various nuts, legumes, herbs, grains and even seed suitable for pets. Watch your cat go nuts for cat grass!
Sprouting seed other than alfalfa requires more or less time, depending on the crop. But the routine remains the same: soak, rinse multiple times, and green up the final product once the leaves have formed. Each day's commitment requires only a minute or two.
I grow sprouts mostly in the winter; they're a break from the monotony of kale and collard greens that are abundant in my garden beds this time of year. They also give me a way to be productive during a polar vortex or anything else that keeps me out of the garden two in the winter.
Most of all, sprouts are tasty and healthy. Growing them is as satisfying as it is money-saving.


