The Farmer Diaries
Texas farmer takes next major step in journey of young seedlings
The time comes for the next major step in the journey of my garden. Taking my cues from the native trees along the creeks that have started to bud, I know it is time to set my seedlings out in the garden.
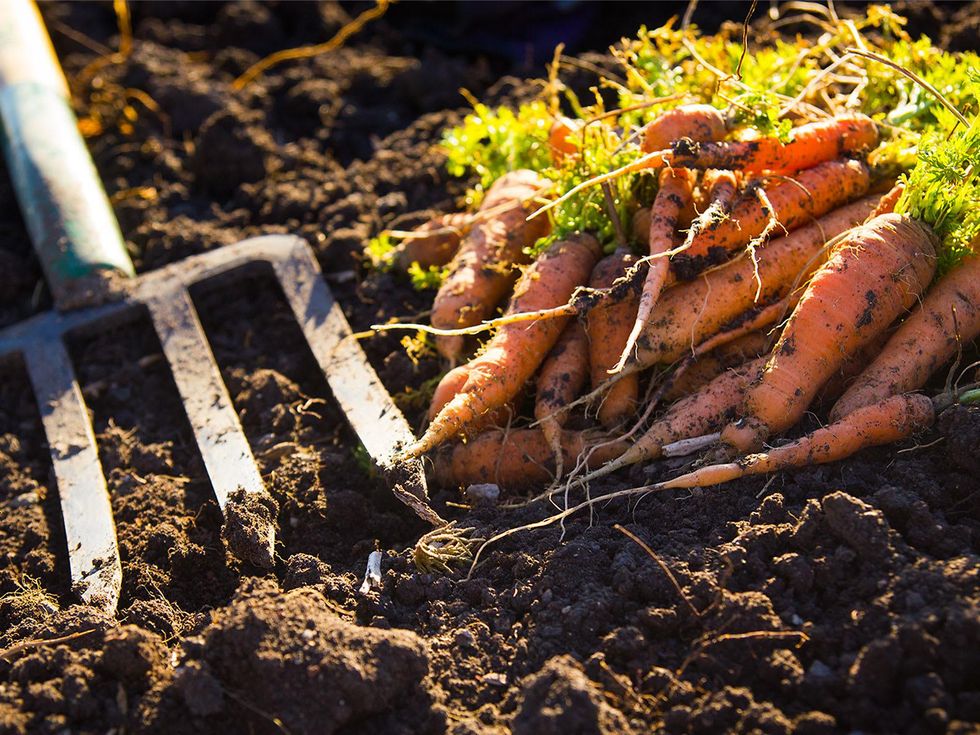
I begin by preparing the beds. I till with a spade fork, weeding out henbit and winter grasses that have taken root, finding a few stray carrots in the process. Amended last fall with a variety of nutrient sources, the soil has good tilth and is spongy and light — perfect for the seedlings I've hardened off over the past two weeks.
On the day I transplant, I water the seedlings thoroughly. I consult the maps I've made of my garden each year to ensure that I rotate my crops. I never plant the same crop in a bed for at least three years.
I consult the maps I've made of my garden to ensure that I rotate my crops. I never plant the same crop in a bed for at least three years.
My goal is to foil insects that overwinter or lay their eggs in the soil under a crop. No sense in serving them breakfast in bed; making them work to find food is an important factor in pest management, and that's sometimes all that's needed to make them pack their bags for better accommodations elsewhere.
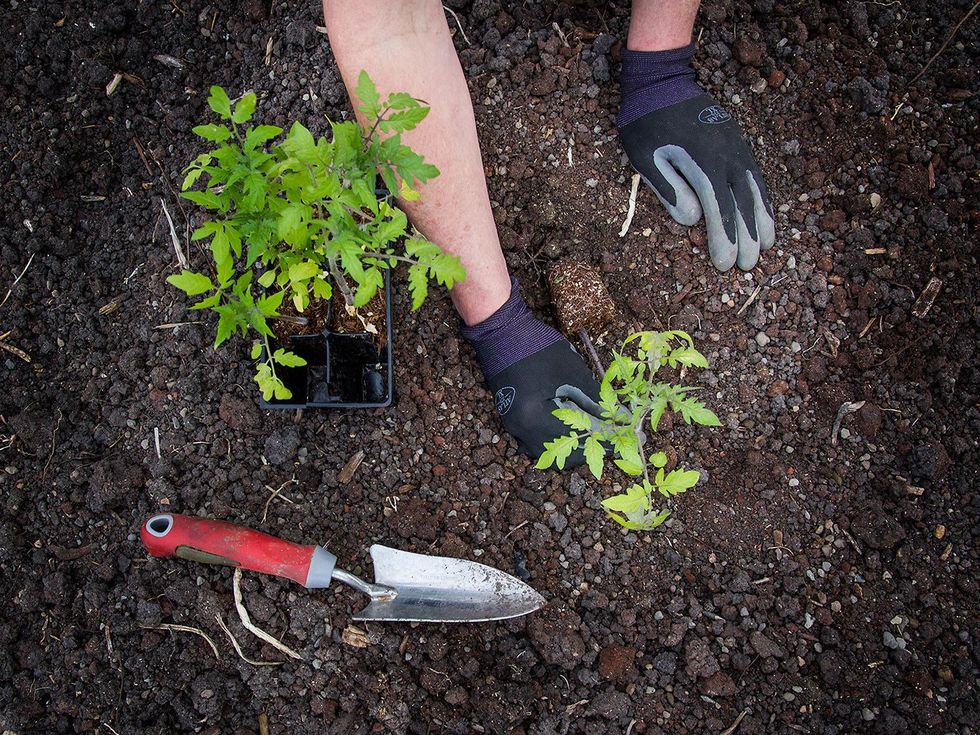
To transplant the seedlings, I extract them gently from their trays. Their roots have formed a root ball in the starting containers, so all the soil stays intact with the roots when the seedling is pulled out. When a plant seems like it won't budge, I push the container bottom so that it eases up and out. For some plants, the push-up procedure is not enough; sometimes I resort to cutting the container off.
Once each plant is out of its container, its naked roots are susceptible to drying out, especially on windy or bright sunny days. I work quickly, digging small holes in the bed, only as large as the root ball. I place the seedlings in the hole, making sure to keep the top of the root ball at the same level as the surface of the soil, then nudge dirt from the sides of the hole toward the center to stabilize the seedling.
I follow that with a sprinkle of water and seaweed extract, just enough to moisten the seedling's new environment and lessen the differences between the root ball and the soil, thus mitigating transplant shock.
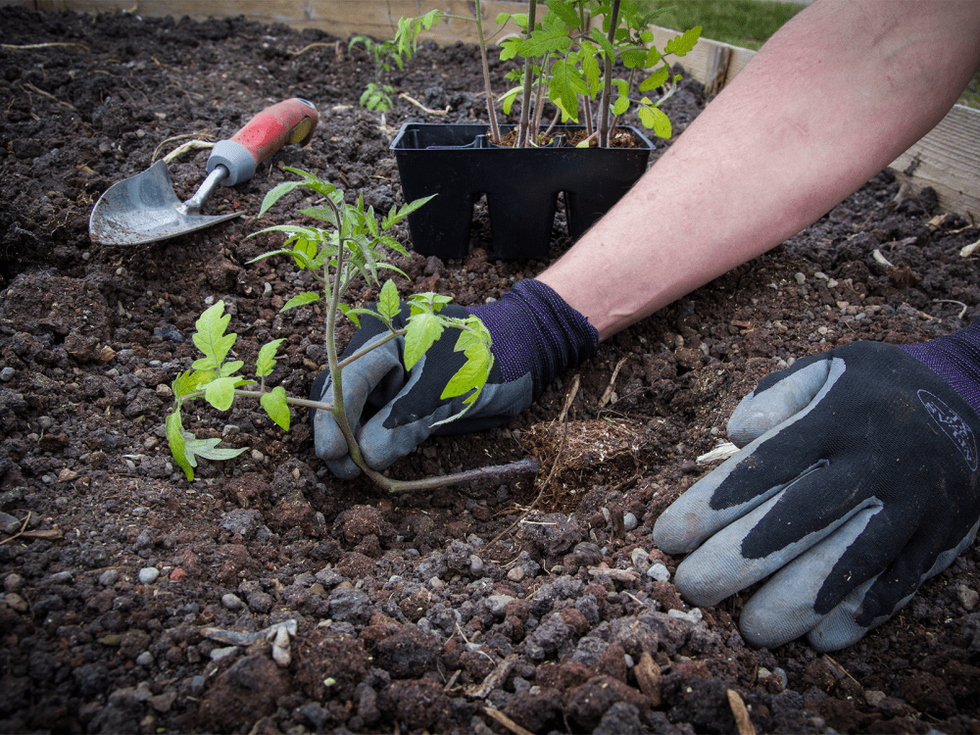
Tomato seedlings get a different treatment. I dig a trench deep enough to hold the root ball, but also as long as the stalk of the seedling. I lay the seedling on its side in the trench and ease the top of the stalk upward by bending it at a right angle.
I cover the rest — root ball and stalk — with soil, leaving only the few leaves at the top poking above the soil. In a few days, the hairs along the stalk transform into roots, giving the transplant a larger root system that will bolster its drought tolerance once summer begins.
Cutworms are a hazard. Like tiny lumberjacks, they can fell a newly transplanted seedling. To limit their access, I cut off the bottom of a cardboard coffee cup and make "collars" out of the top, which I place around the tomato and pepper seedlings.
Collards and other greens are at risk from rabbits. To keep them away, I either protect the whole bed with a frost blanket supported by a PVC pipe structure, or else I cover each seedling with a cup collar topped with a piece of frost blanket fixed to it. Protecting a seedling with some sort of barrier is easier than trying to eliminate the insects or animals that attack it.
If a late frost occurs, I cover each transplant with a cardboard box weighted down with a brick. If the temperature is predicted to take a huge plunge, I put a bottle of water under the box, next to the seedling. So far, that has proved to be a sufficient source of heat to keep the seedling alive.
With three months' growth as a head start, my seedlings of tomatoes, peppers, chamomile, basil and other crops have a jump on the season. In the temperate months of spring, boosted by rainfall and natural sunshine, they'll thrive. In a few short months, I'll be back to picking produce straight from the vine.


